METHOD ONE
When XP is Installed First
NOTE: If you have a RAID setup, you will need to have the Windows 7 RAID drivers on a USB flash drive available to select and load while installing Windows 7.
1. To Create a New Partition from the XP Hard Disk DriveA) With your Windows 7 installation disc boot into the Command Prompt from the System Recovery Options screen.2. To Use a Separate Hard Disk Drive than the XP Drive
NOTE: Make sure that the CD/DVD drive is selected first in the boot order in the BIOS.
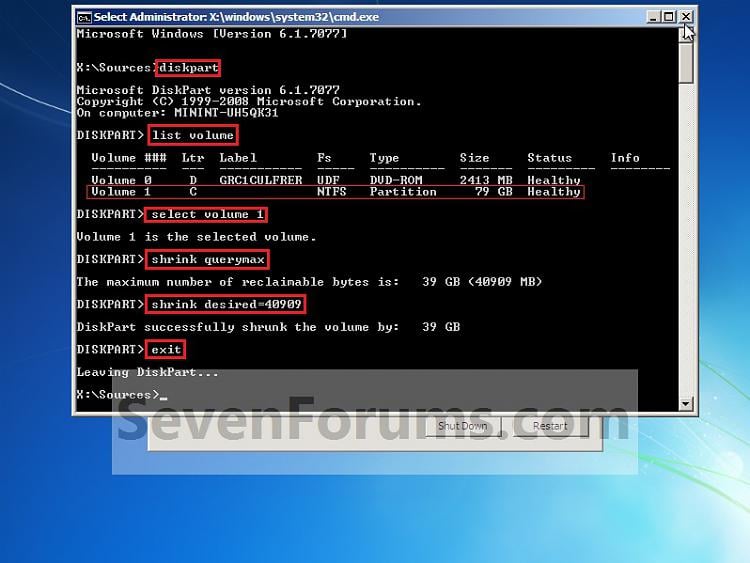
B) In the command prompt, select and shrink the XP volume by how many MB (1024 MB = 1 GB) you want to have for this Windows 7 partition. (See screenshot below)
NOTE: You would do steps 2 to 9 in METHOD TWO at that link. Windows 7 will need a minimum of 16 GB (16384 MB).C) Click on the X at the top right corner to close the command prompt. (See screenshot above)
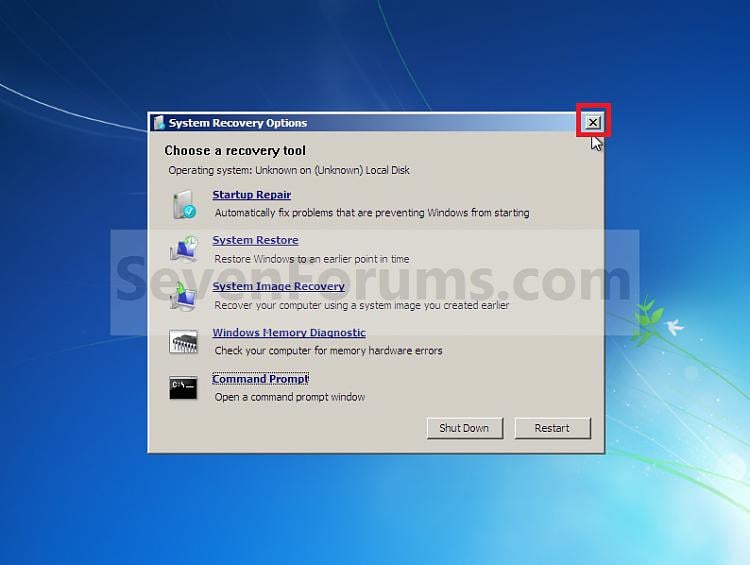
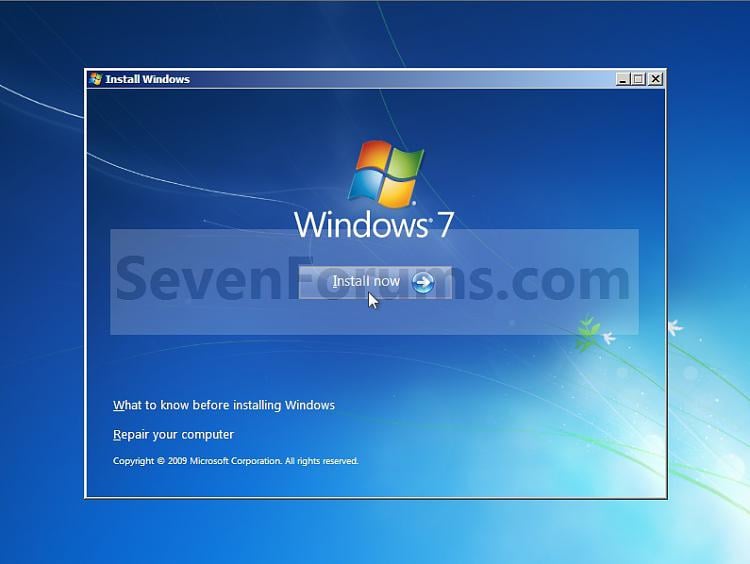
D) Click on the X at the top right corner to close System Recovery Options. (See screenshot below)E) Go to step 3.A) Boot from your Windows 7 installation disc.3. Click on the Install now button. (See screenshot below)
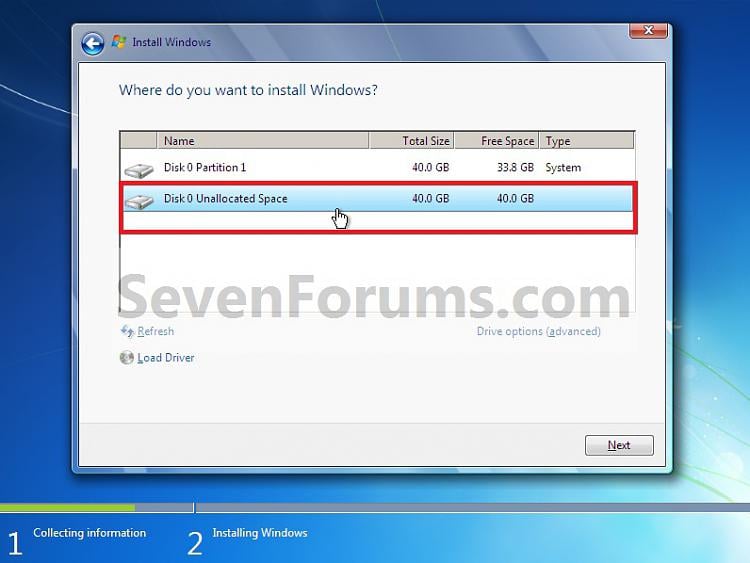
NOTE: Make sure that the CD/DVD drive is selected first in the boot order in the BIOS.4. When you get to this point, select the partition (step 1) or hard drive to install Windows 7 on. (See screenshot below)5. Finish installing Windows 7.
NOTE: You would do step 9 on at that link to finish installing Windows 7.
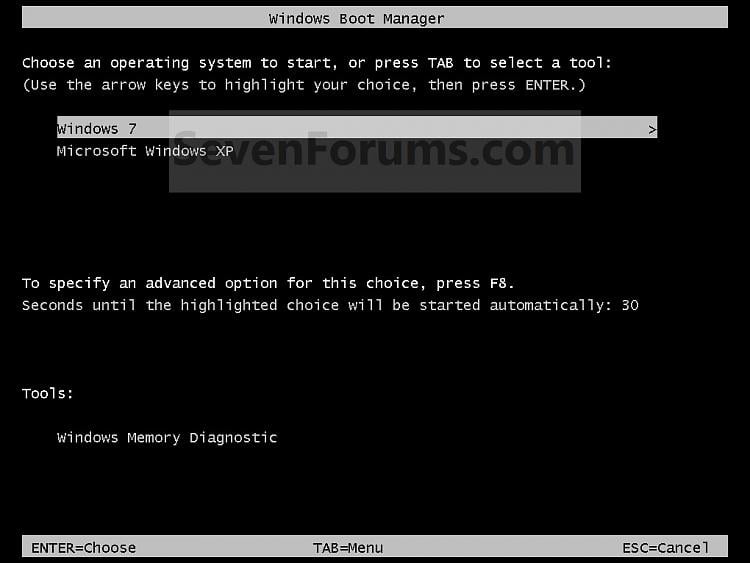
6. When finished, restart the computer to have the option to boot from XP (Earlier Verision of Windows) or Windows 7. (See screenshot below)Note
If you are only booting into Windows 7 and do not have XP listed in the Windows Boot Manager, then you can install only EasyBCD (step 7 Method Two below) or EasyBCD (preferred) to add XP (or Windows 7) while started in Windows 7 the same way to the boot list.
METHOD TWO
When Windows 7 is Installed First
- If you have a RAID setup, you will need to have the XP RAID drivers on a Floppy disc available to select and load at the F6 prompt while installing XP.
- If you have a SATA drive, then see How to Load SATA Drivers in Windows XP Setup on your Dual Boot PC with Vista or Windows 7 for how to load your SATA drivers from a Floppy disc at the F6 prompt while installing XP.
1. To Create a New Partition from the Windows 7 Hard Disk Drive
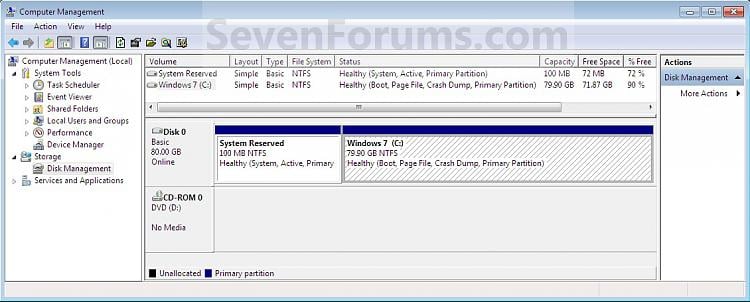
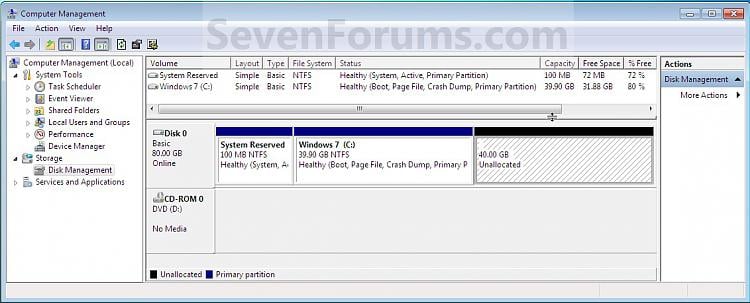
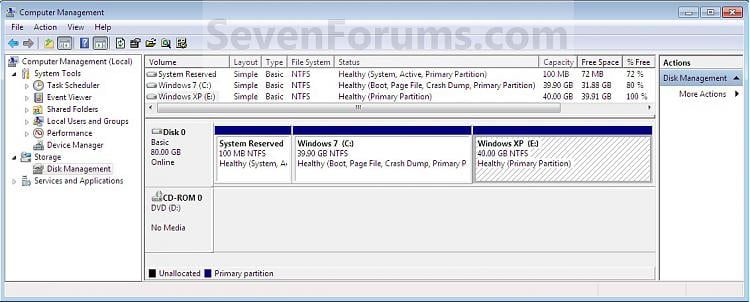
NOTE: If you want to install XP on a separate hard drive instead, then skip this step and go to step 2.A) In Windows 7, select and shrink the Windows 7 volume in Disk Management by how many MB (1024 MB = 1 GB) you want to have for this XP partition. (See screenshots below)2. Insert your XP installation disc, then restart the computer and press any key to boot from it when prompted. (See screenshot below)
NOTE: You would do all of Method One at that link.
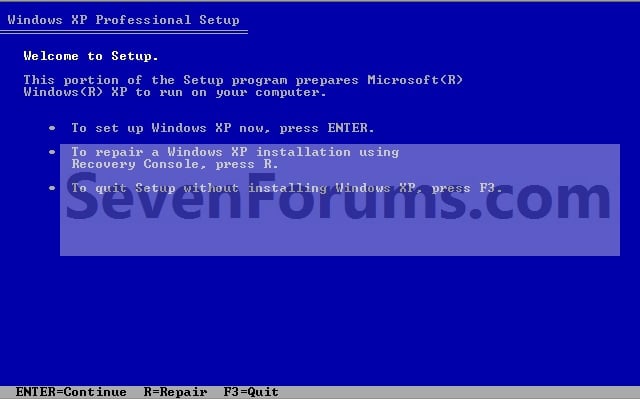
NOTE: Make sure that the CD/DVD drive is selected first in the boot order in the BIOS.3. From XP Setup, Press Enter. (See screenshot below)Warning
- If you have a RAID setup, you will need to have the XP RAID drivers on a Floppy disc available to select and load at the F6 prompt while installing XP.
- If you have a SATA drive, then see How to Load SATA Drivers in Windows XP Setup on your Dual Boot PC with Vista or Windows 7 for how to load your SATA drivers from a Floppy disc at the F6 prompt while installing XP.
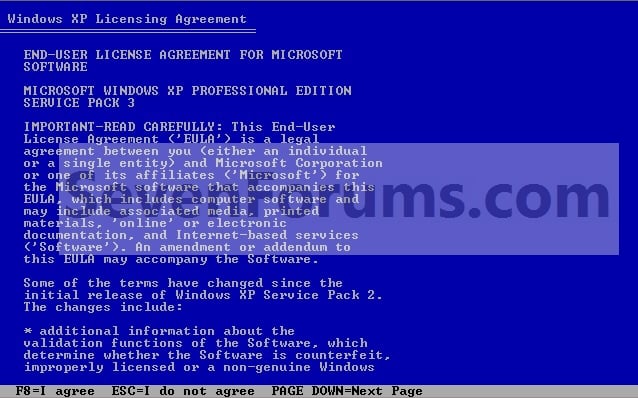
4. Press F8. (See screenshot below)
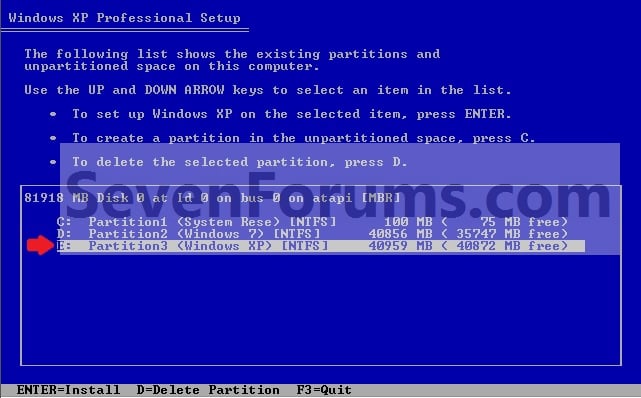
NOTE: On some multimedia keyboards, you may need to press the F-Lock or Function key before pressing F8.5. Select the partition (step 1) or hard drive that you want to install XP on using the arrow keys and press Enter.6. Finish installing XP.Tip
If you get Error loading Operating System after XP restarts:
- Using your Windows 7 installation disc, boot to the command prompt at startup.
- Type in these comands below, and press enter after each one.
- bootrec /FixMbr
- bootrec /FixBoot
- bootrec /RebuildBcd
- Exit the command prompt and restart the computer.
- At this point, Windows 7 should boot up the same way before trying to install XP.
- Continue to step 8 below and run EasyBCD from Windows 7 instead.
7. In XP, download and install .Net Framework 2.0 (32-bit) verison or .Net Framework 2.0 (64-bit) version and EasyBCD for your 32-bit (x86) or 64-bit (x86) XP.
NOTE: In XP, Net Framework is required to be installed to run the free program EasyBCD.
8. Run EasyBCD.
NOTE: This is required to repair the Windows 7 boot file and add XP to the Windows Boot Manager list.
9. In EasyBCD, click on Add/Remove Entries (left side). (See screenshot below)10. In the bottom right section under Add and Entry, type Microsoft Windows XP (name displayed in Windows Boot Manager) for the Name.
NOTE: You can type whatever name you would like to have displayed in the Windows Boot Manager for XP though.A) If you have a 100mb System Reserved partition with Windows 7, then right click it in Disk Management and give it a drive letter ( S is a good choice). Then select the letter you assigned (ex: S ) in the EasyBCD Drive drop down menu.
OR
B) If you don't have a 100mb System Reserved partition with Windows 7, then select the drive letter (ex: C: ) that Windows 7 is installed on from the Drive drop down menu in EasyBCD.
11. To the right of Type, select Windows NT/2k/XP/2k3 from the drop down menu.12. Click on the Add Entry button. (See screenshot above)
13. You will now notice that this has added Microsoft Windows XP to the upper right section. Click on the Save button. (See screenshot below)
14. In EasyBCD, click on Manage Bootloader (left side). (See screenshot below)
15. In the upper right section under Bootloader Installer Options, select (dot) Reinstall the Vista Bootloader, then click on the Write MBR button. (See screenshot above)
16. Close EasyBCD.
17. Restart the computer to have the option to boot from XP or Windows 7. (See screenshot below)




No comments:
Post a Comment